> ## Documentation Index
> Fetch the complete documentation index at: https://docs.routera.io/llms.txt
> Use this file to discover all available pages before exploring further.
# Creating roles
> Create custom roles and control access to records, routers, and settings.
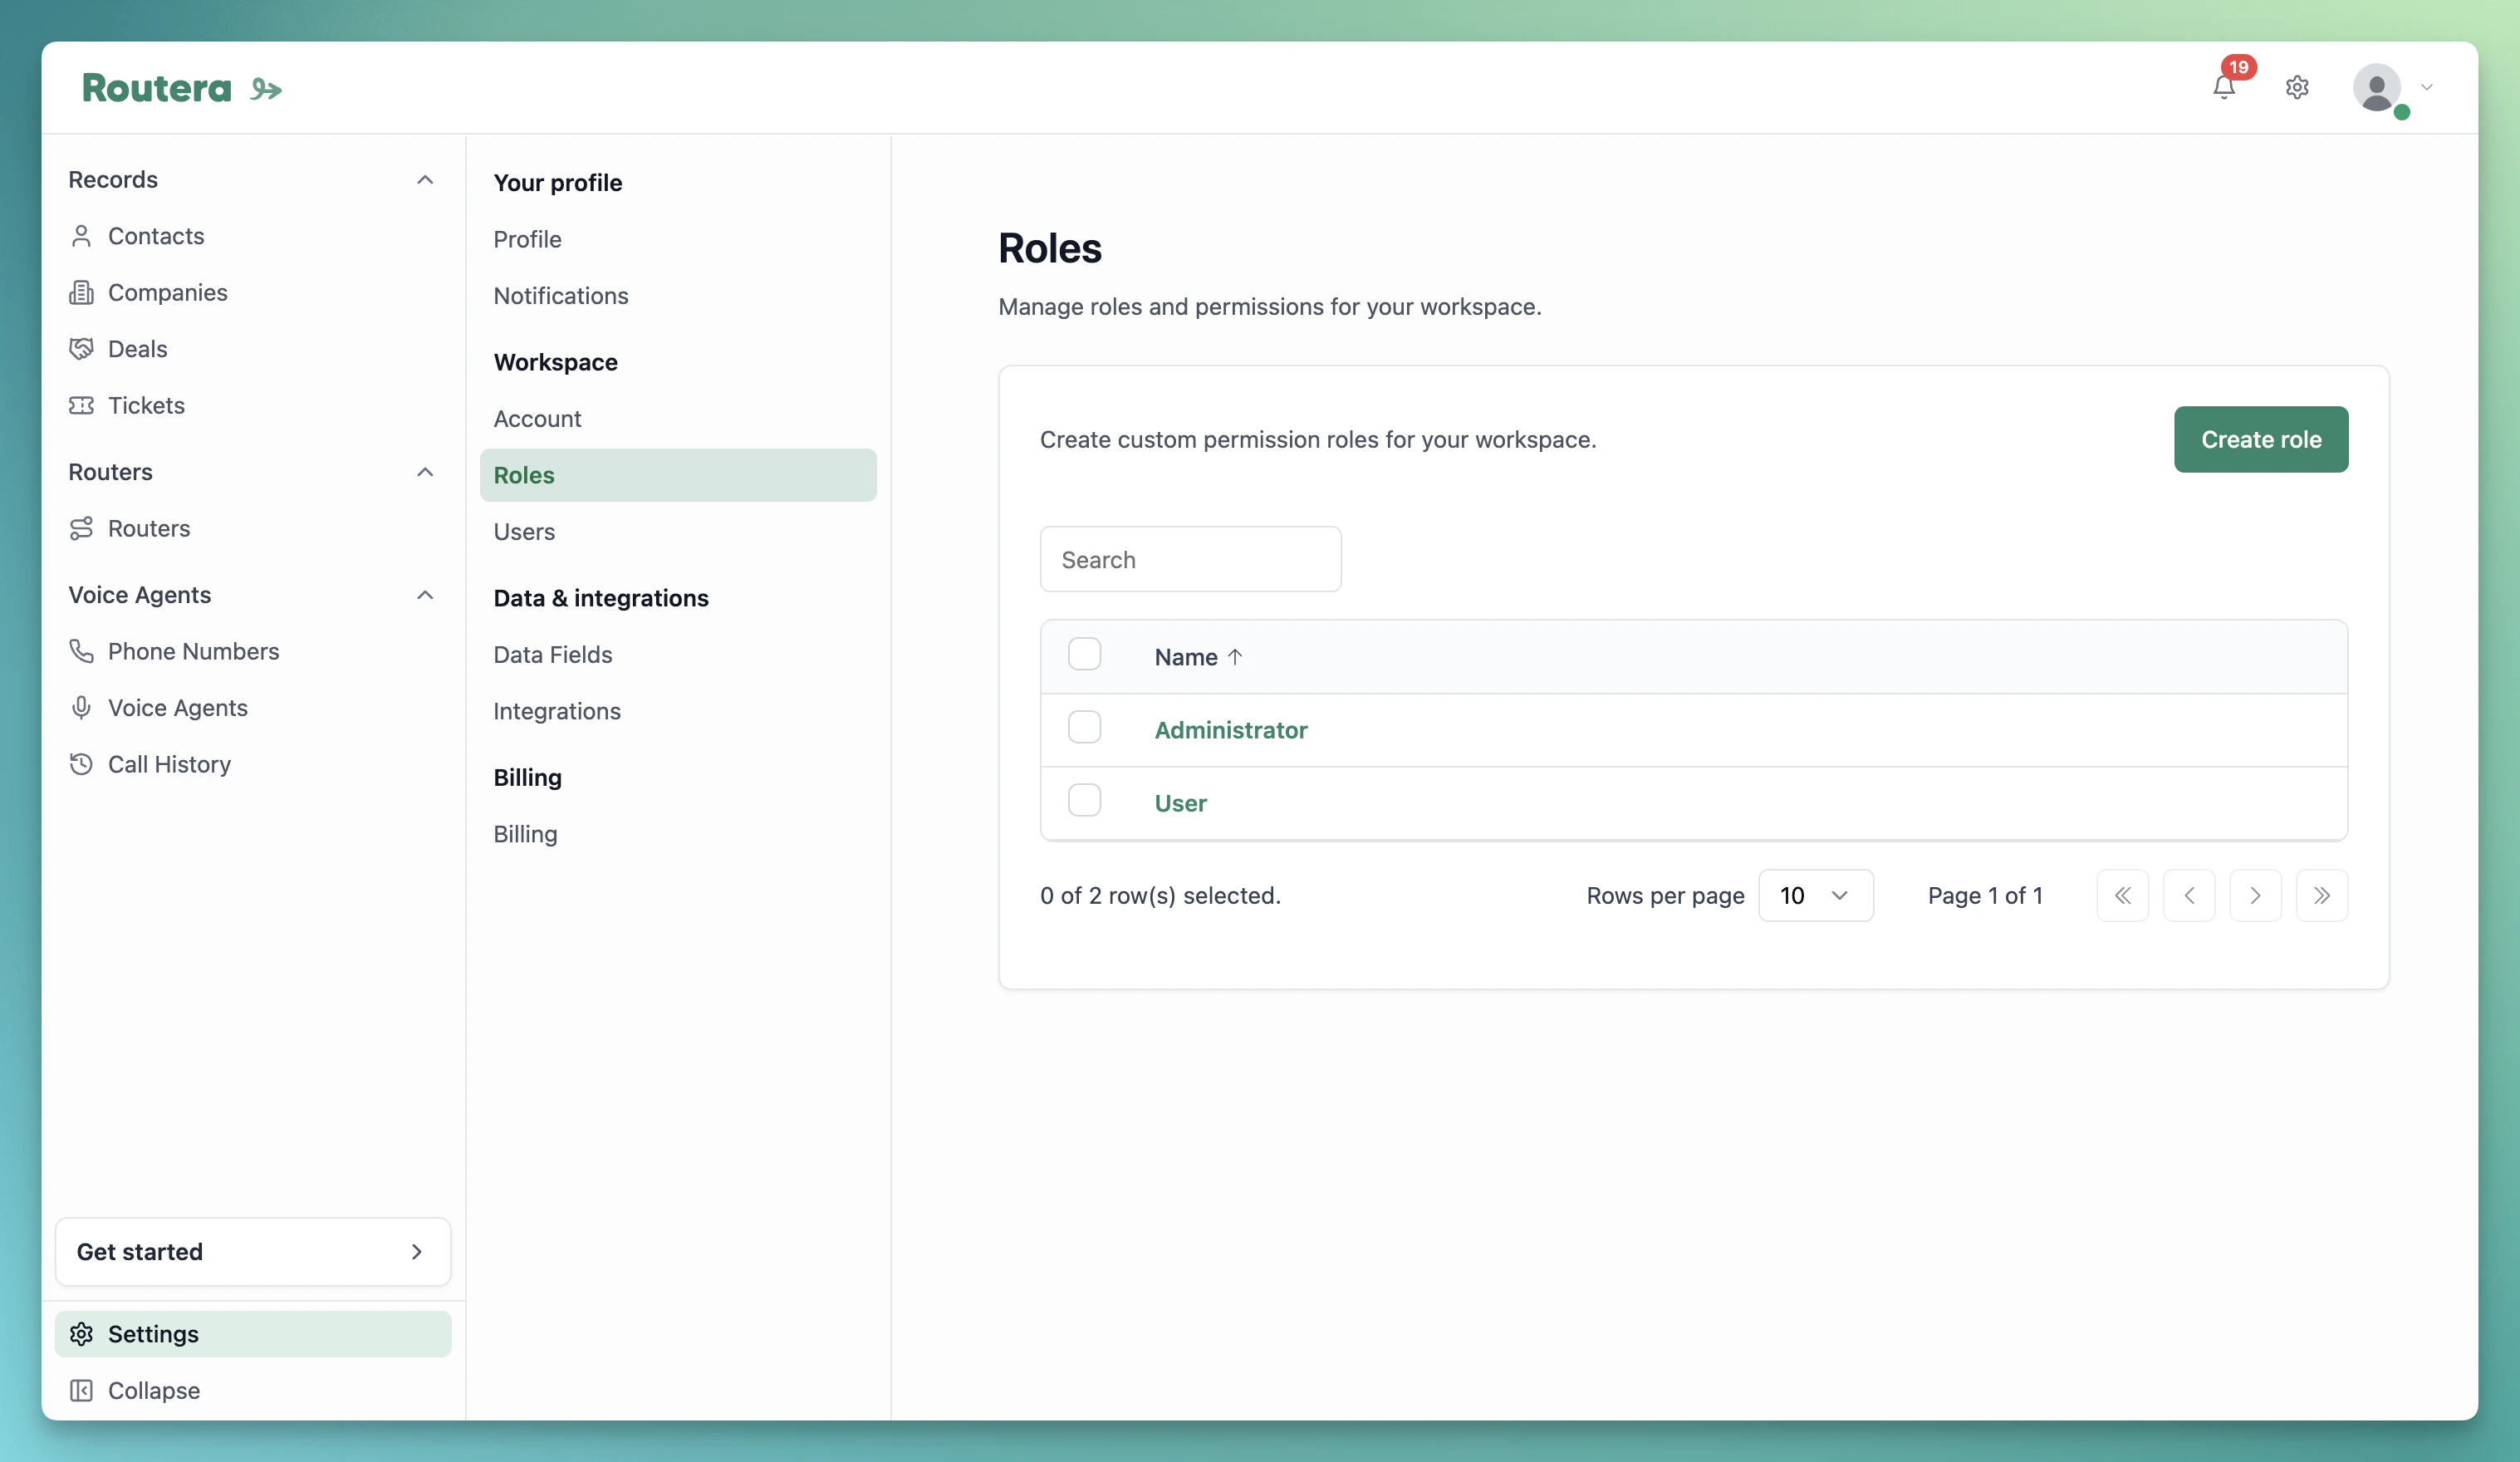
## Default roles
Every workspace includes two built-in roles:
* **Administrator** — full access to records, routers, and settings.
* **User** — access scoped to their profile (availability, working hours, calendars) and assigned work.
Default roles cannot be edited or deleted.
## Create a custom role
1. Open **Settings** → **Roles**.
2. Click **Create role**. Routera opens the new role so you can configure it.
3. Rename the role if needed, then set permissions on the **Records**, **Router**, and **Settings** tabs.
4. Click **Save** when you are finished.
 On each tab, permissions use **Read**, **Create**, **Edit**, and **Delete** where they apply. Settings permissions map to each settings area (for example **Users** and **Teams** under the users section).
## Assign a role to a user
Choose the role when you [invite a user](/kb/inviting-users), or update an existing member’s role from **Settings** → **Users**.
Start with the minimum permissions someone needs—you can always grant more later.
On each tab, permissions use **Read**, **Create**, **Edit**, and **Delete** where they apply. Settings permissions map to each settings area (for example **Users** and **Teams** under the users section).
## Assign a role to a user
Choose the role when you [invite a user](/kb/inviting-users), or update an existing member’s role from **Settings** → **Users**.
Start with the minimum permissions someone needs—you can always grant more later.