> ## Documentation Index
> Fetch the complete documentation index at: https://docs.routera.io/llms.txt
> Use this file to discover all available pages before exploring further.
# Inviting users
> Add colleagues to your Routera workspace from Settings.
## Invite a user
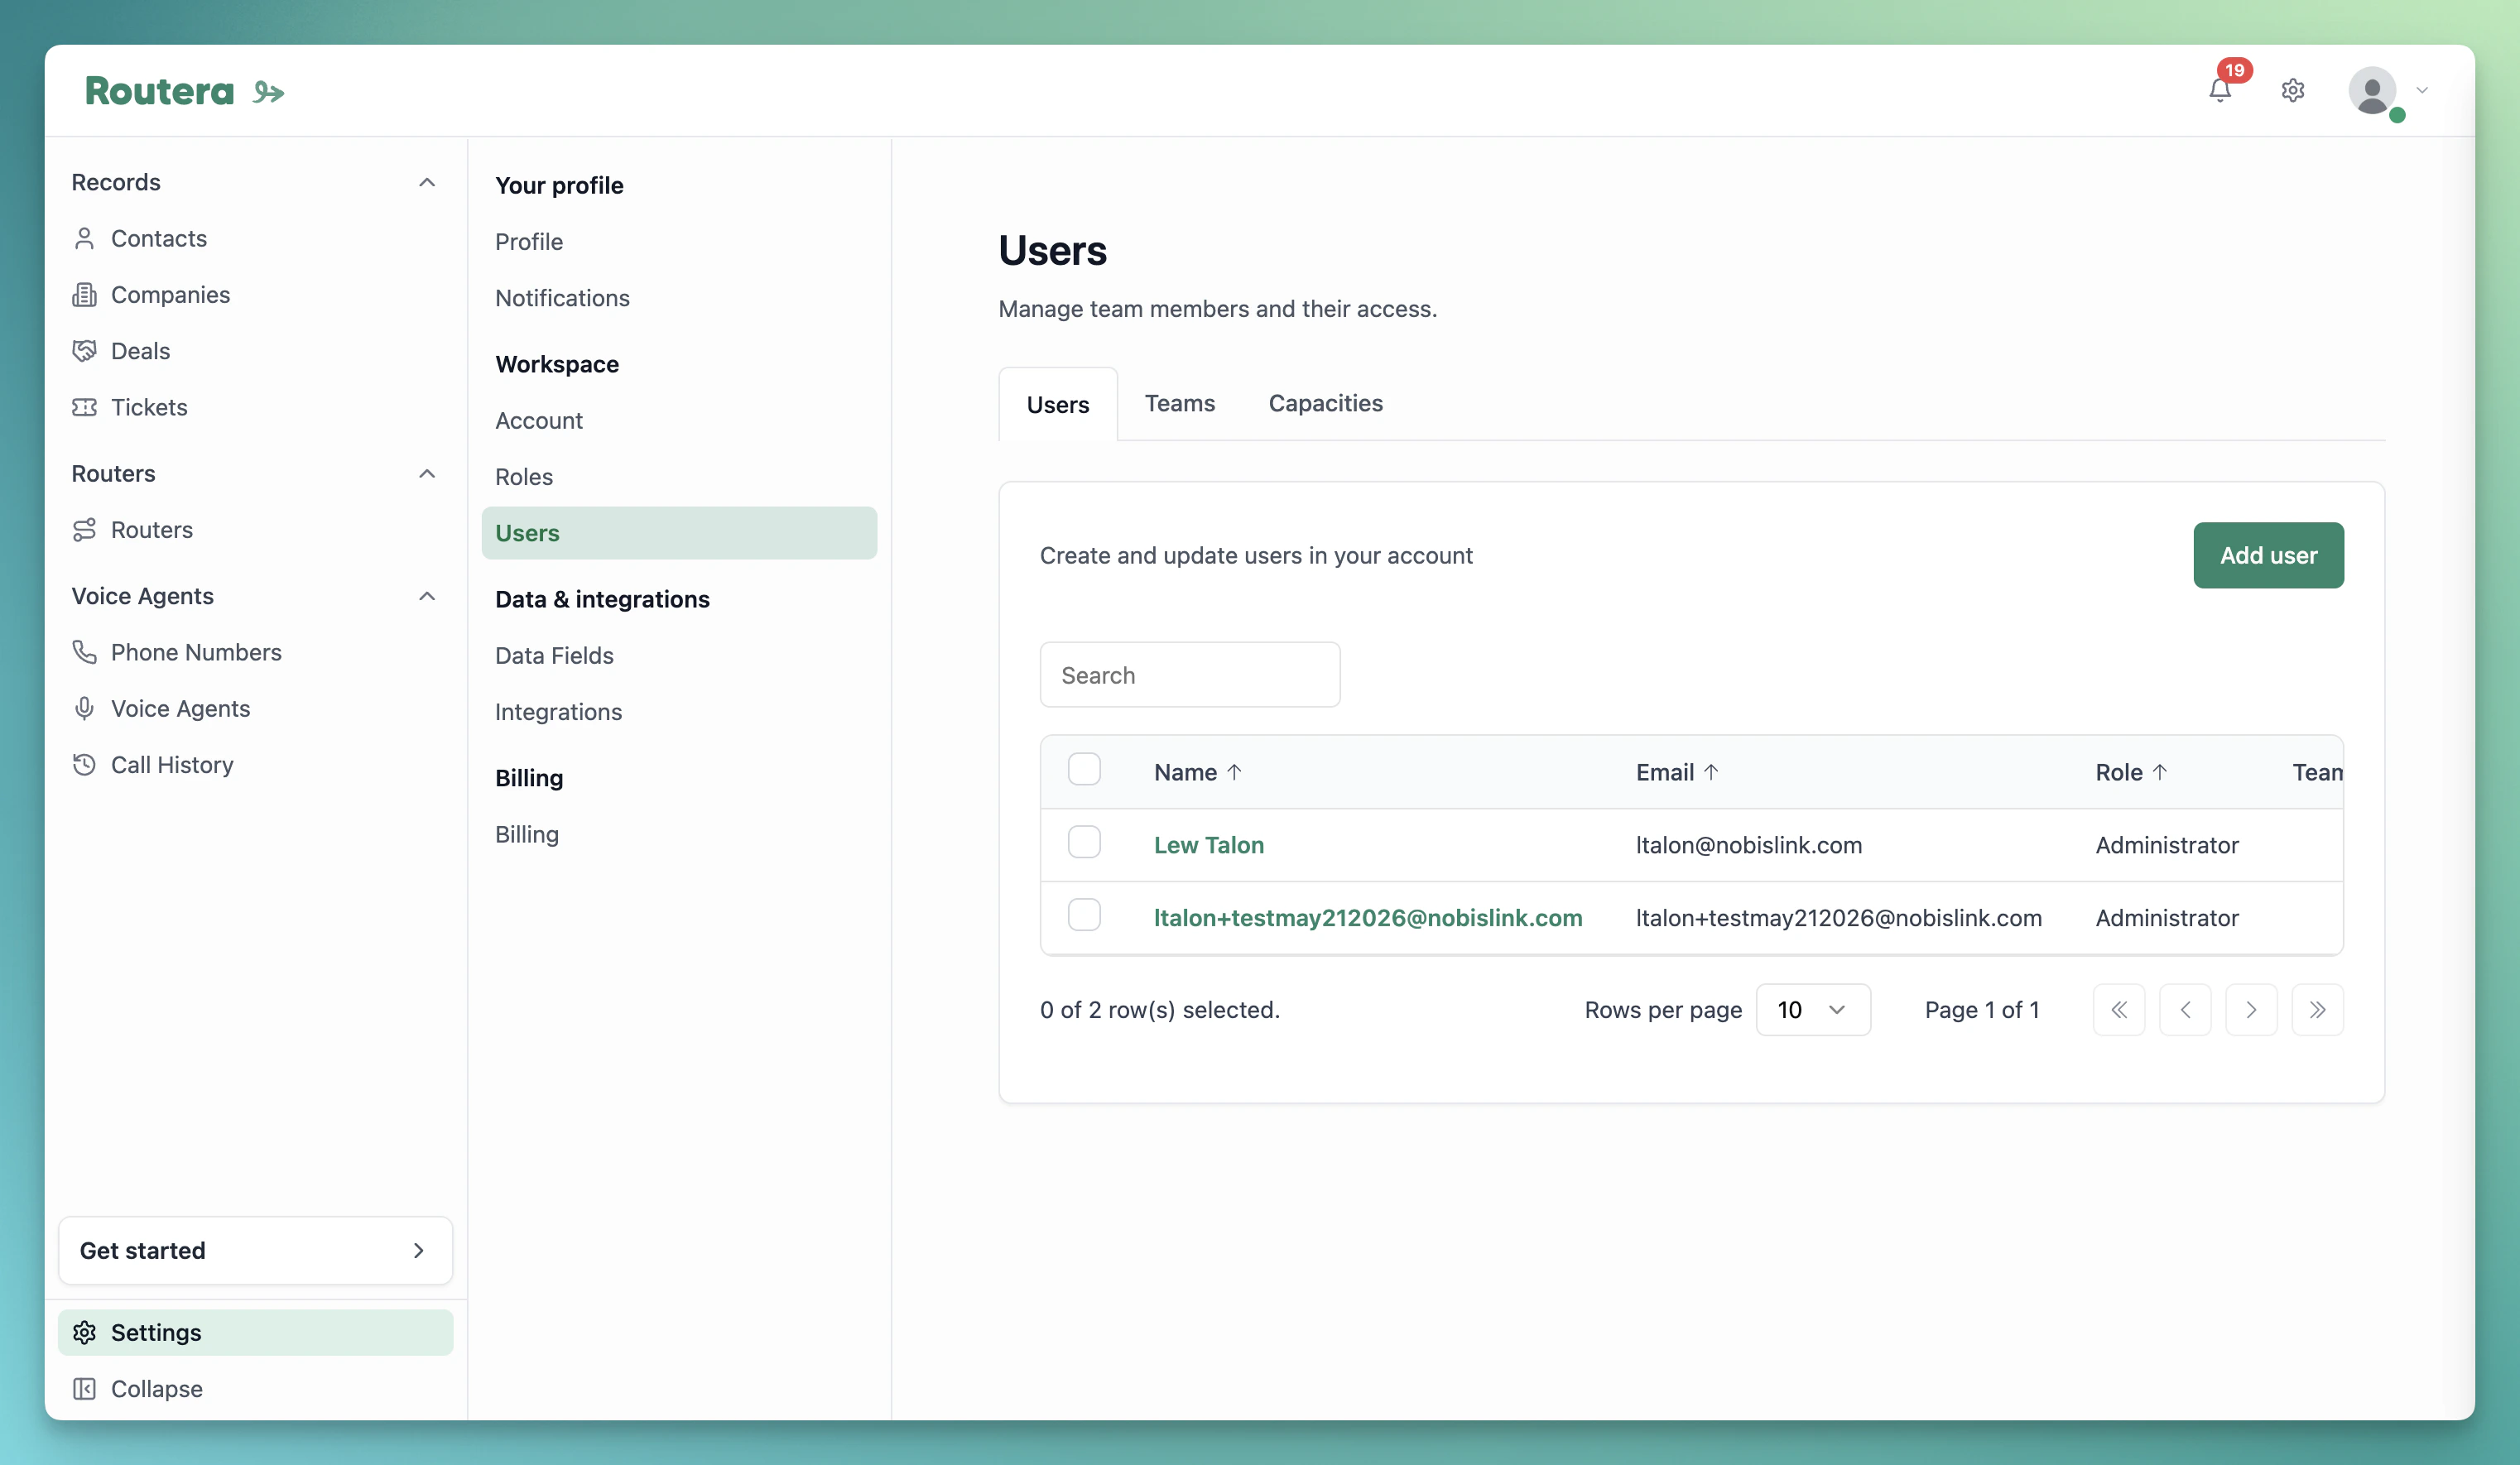
1. Open **Settings** → **Users**.
2. Click **Add user**.
3. Enter their name, email, and **role**, then click **Create user**.
 They receive an email invitation to join the workspace.
Every workspace includes **Administrator** and **User** by default. **Administrator** can manage settings and setup; **User** has access scoped to their profile and assigned work.
## Custom roles (optional)
For more granular access than **Administrator** or **User**, [create a custom role](/kb/create-roles) in **Settings** → **Roles**, then select it in the **Role** dropdown when you invite someone. You can change a user’s role later from **Settings** → **Users**.
You can also invite people during initial sign-up, or skip and add them here later.
They receive an email invitation to join the workspace.
Every workspace includes **Administrator** and **User** by default. **Administrator** can manage settings and setup; **User** has access scoped to their profile and assigned work.
## Custom roles (optional)
For more granular access than **Administrator** or **User**, [create a custom role](/kb/create-roles) in **Settings** → **Roles**, then select it in the **Role** dropdown when you invite someone. You can change a user’s role later from **Settings** → **Users**.
You can also invite people during initial sign-up, or skip and add them here later.