Purchase a phone number
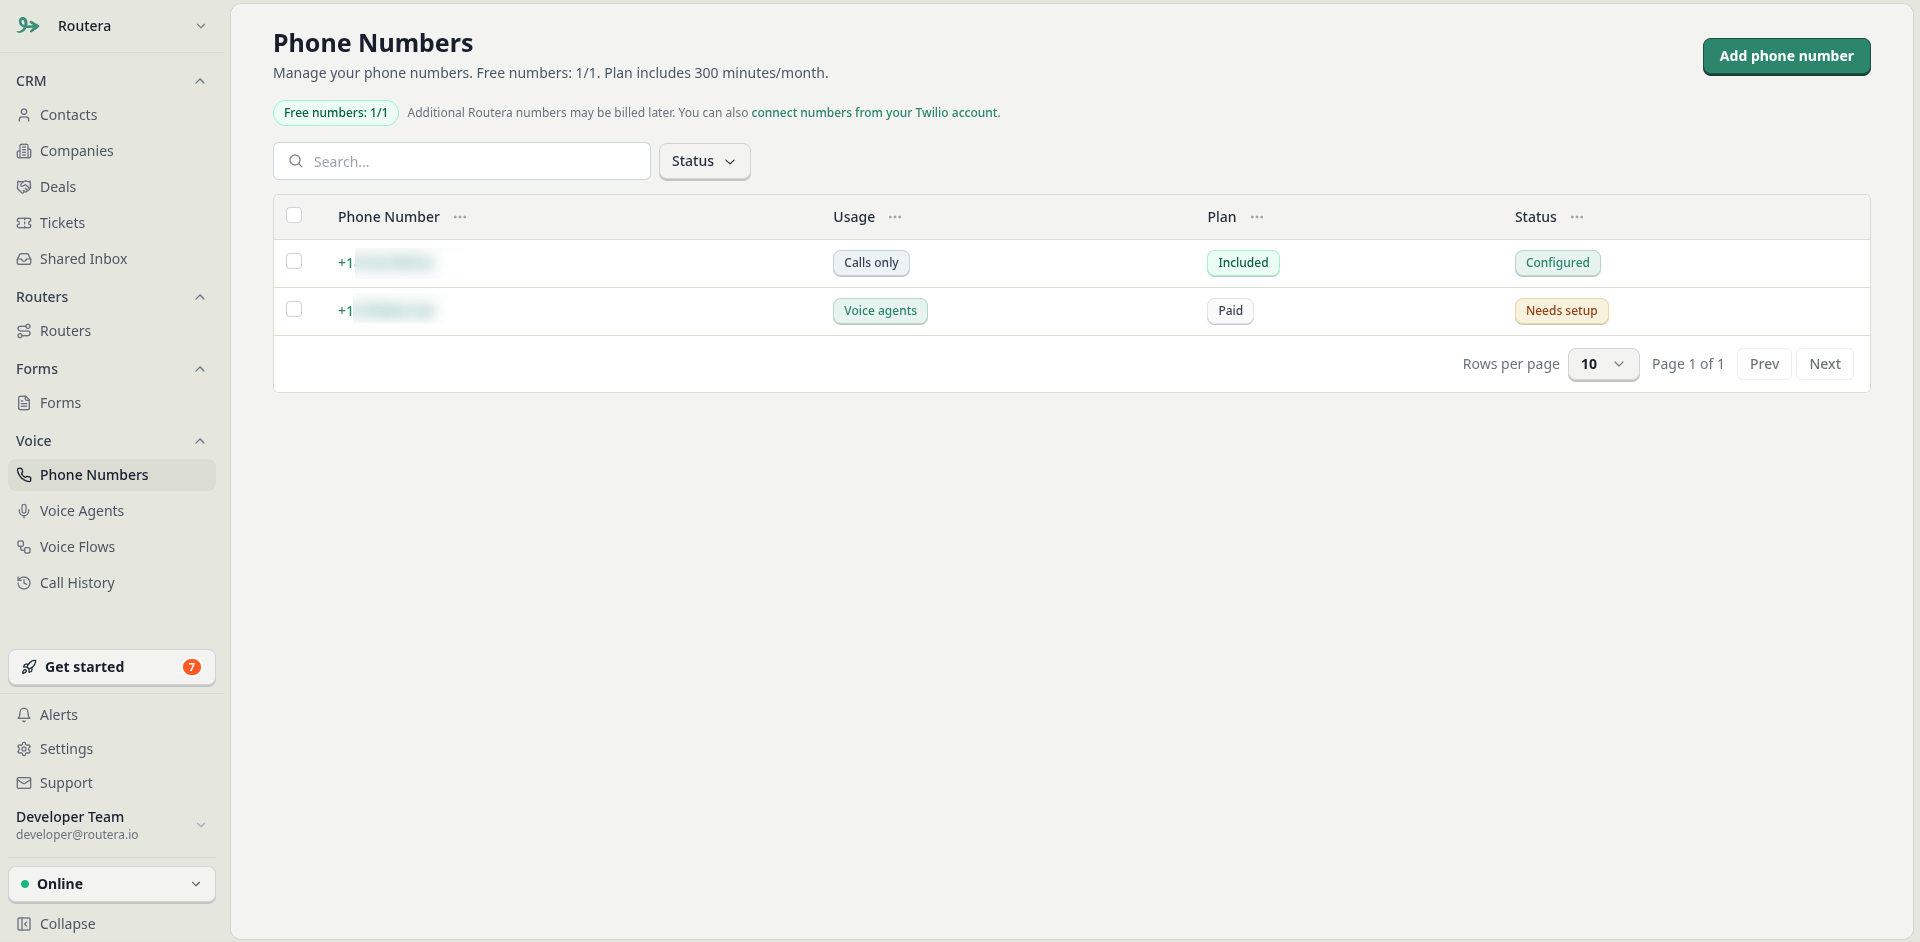
- Open Voice Agents → Phone Numbers in the sidebar.
- Click Add Phone Number.
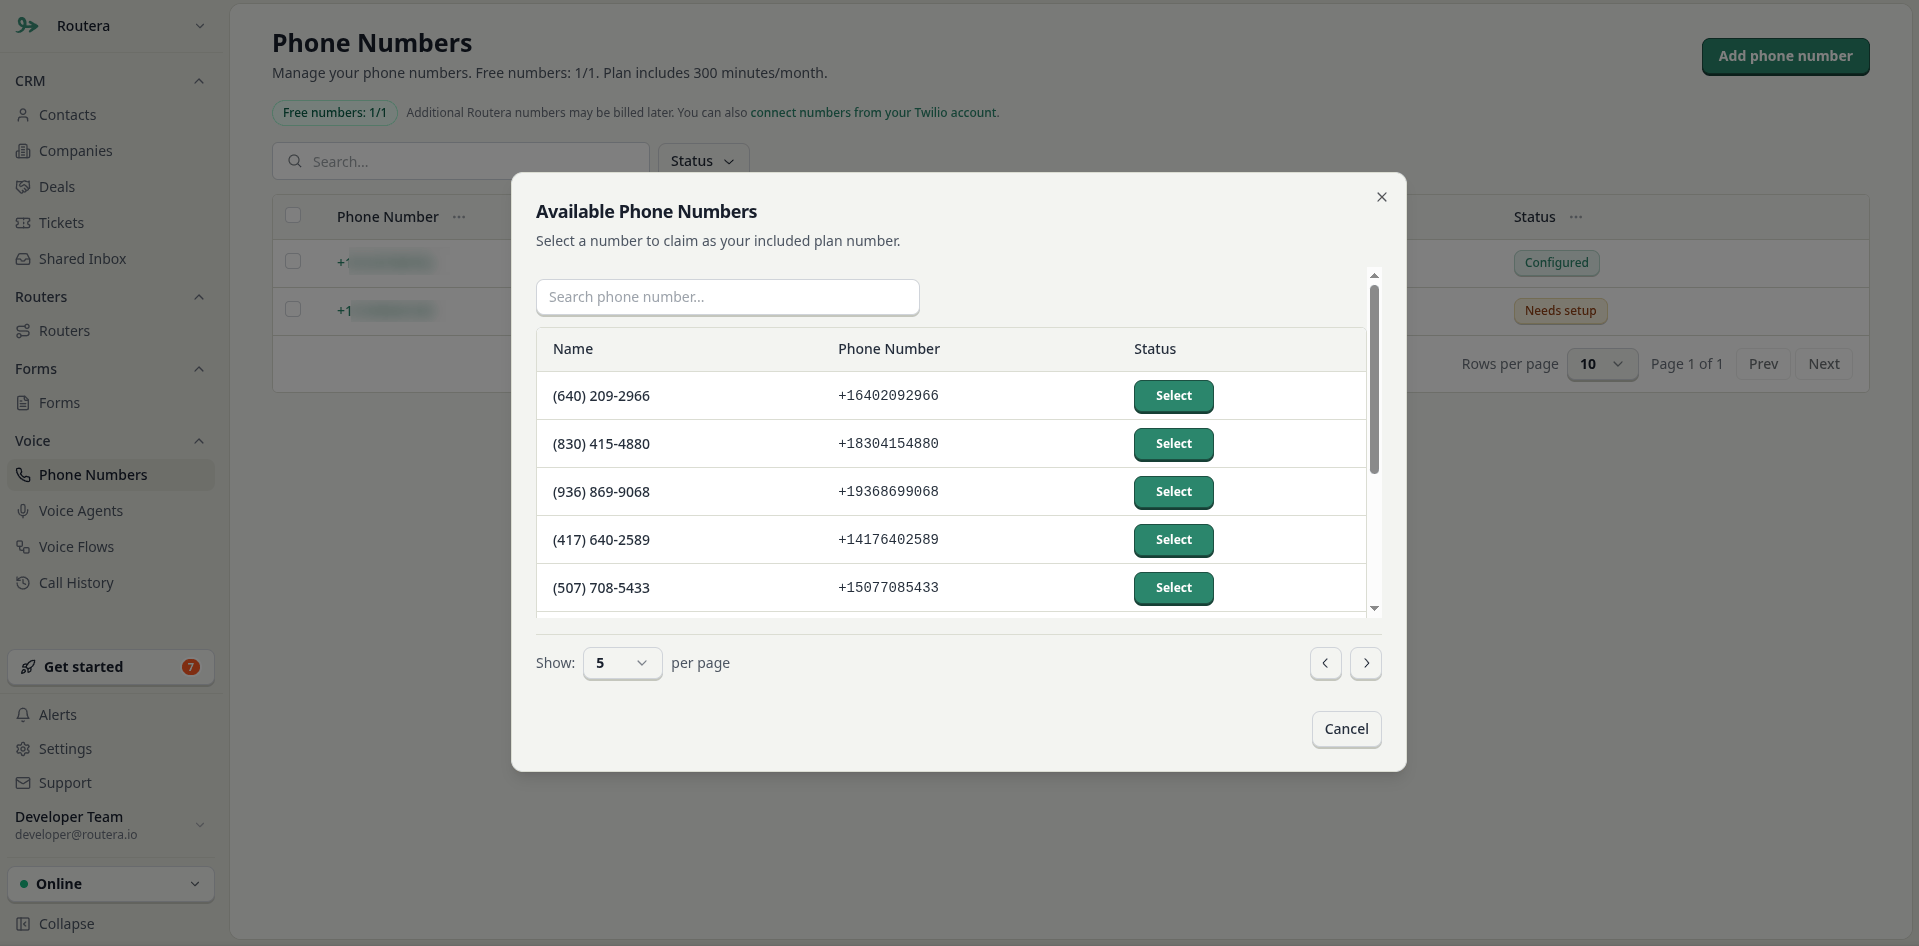
- Optionally enter a three-digit area code, then click Next to search (leave blank to browse all available numbers).
- Select a number from the list to purchase it.
Configure voice agents
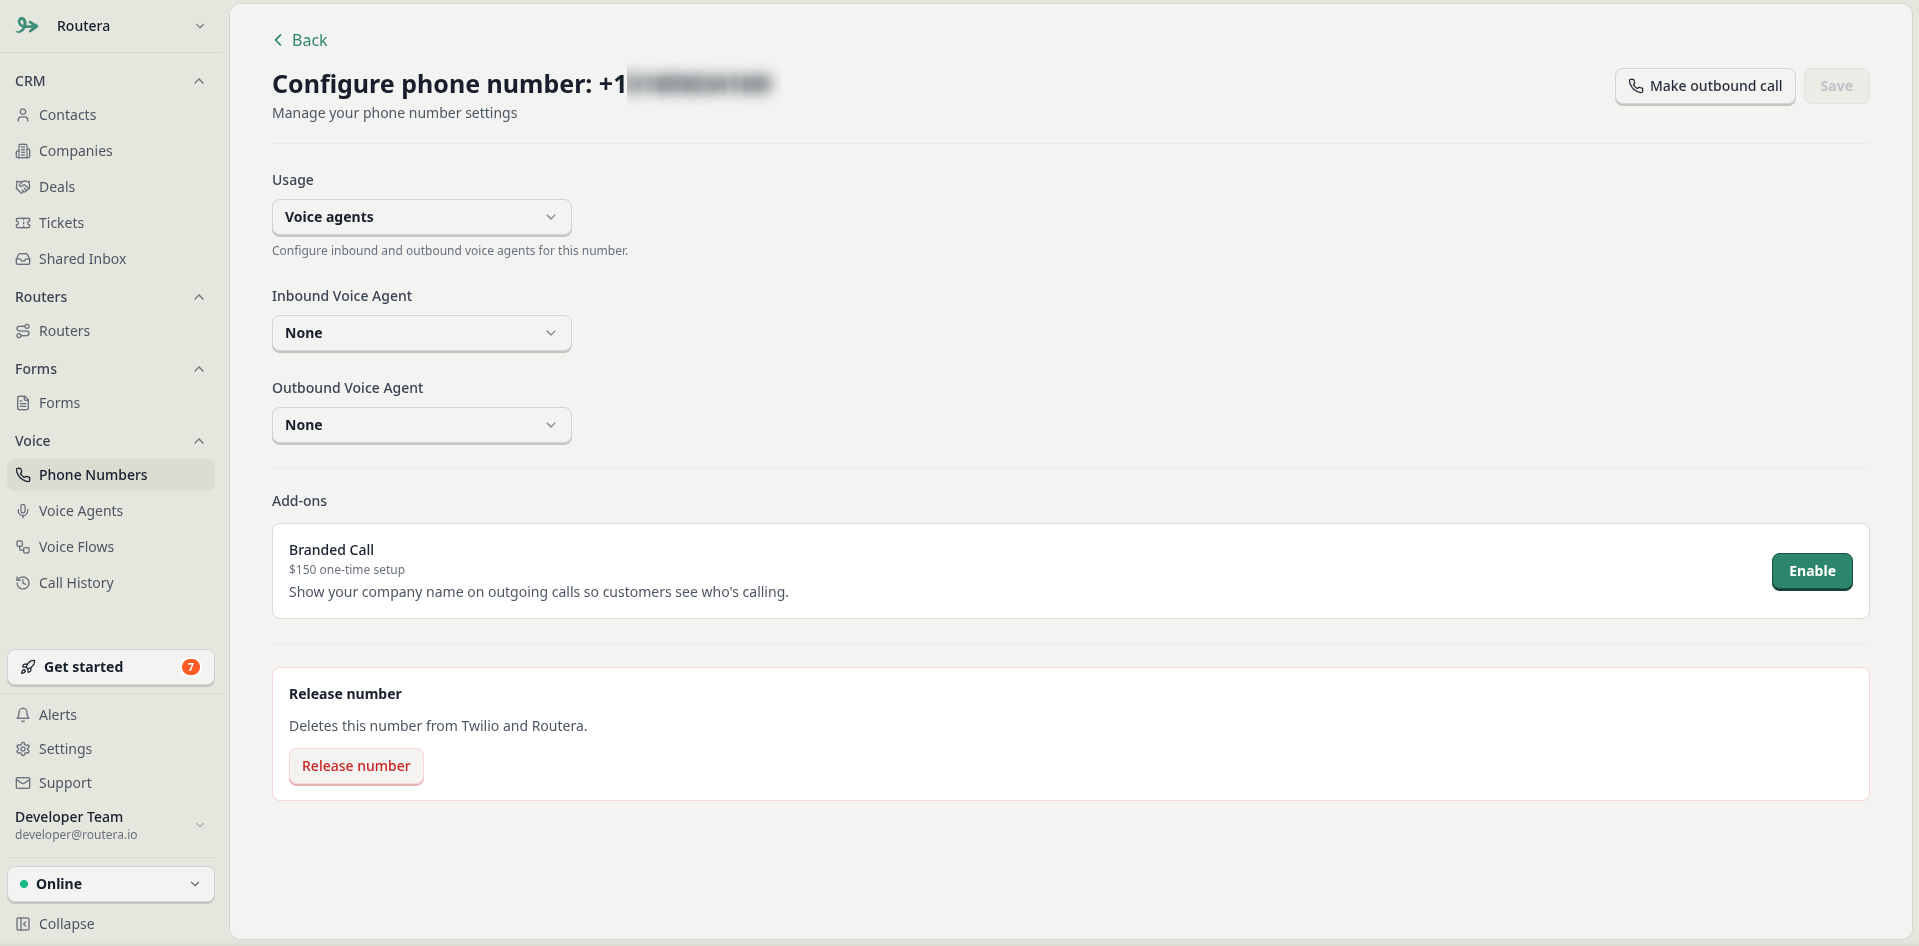
Click the phone number in the list to open Configure phone number.- Inbound voice agent — handles incoming calls to this number.
- Outbound voice agent — handles calls placed from this number (including Make outbound call tests).
- Click Save.
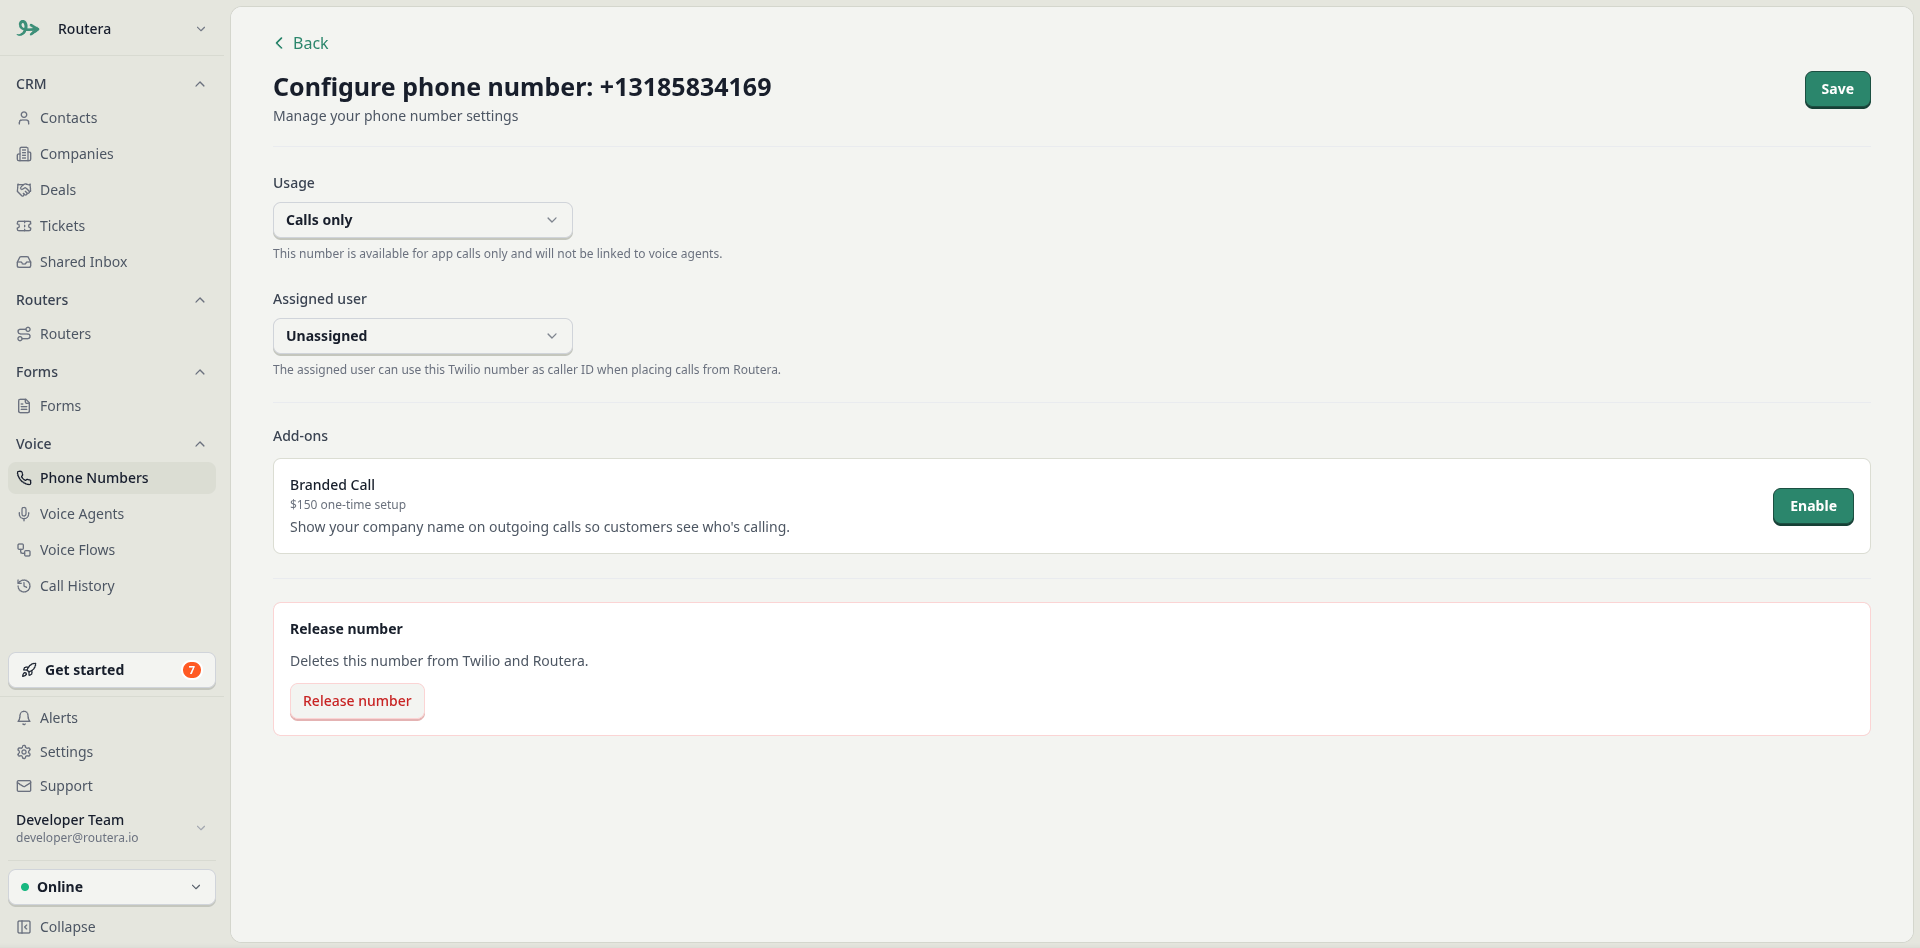
The list shows a status indicator when both inbound and outbound agents are set. Publish your agents in Create voice agents before attaching them here.
Branded Call (call deliverability)
Branded Call registers your business with the carrier so outbound calls can display your company name instead of an unknown number. That helps answer rates and reduces the chance calls are ignored or flagged as spam. On the phone number configuration page, under Add-ons:- Click Enable on Branded Call ($150 one-time setup fee; charged when you submit).
- Complete the three-step profile:
- General information — legal business name, profile friendly name, country, and business address.
- Business Information — business type, industry, registration ID, website, and regions of operation.
- Point of Contact — authorized contact for verification.
- Submit the profile. Status appears on the card:
- In review — carrier is verifying your information.
- Approved — branding can be used on outbound calls from this number.
- Rejected — update details or contact support; use View to review what was submitted.
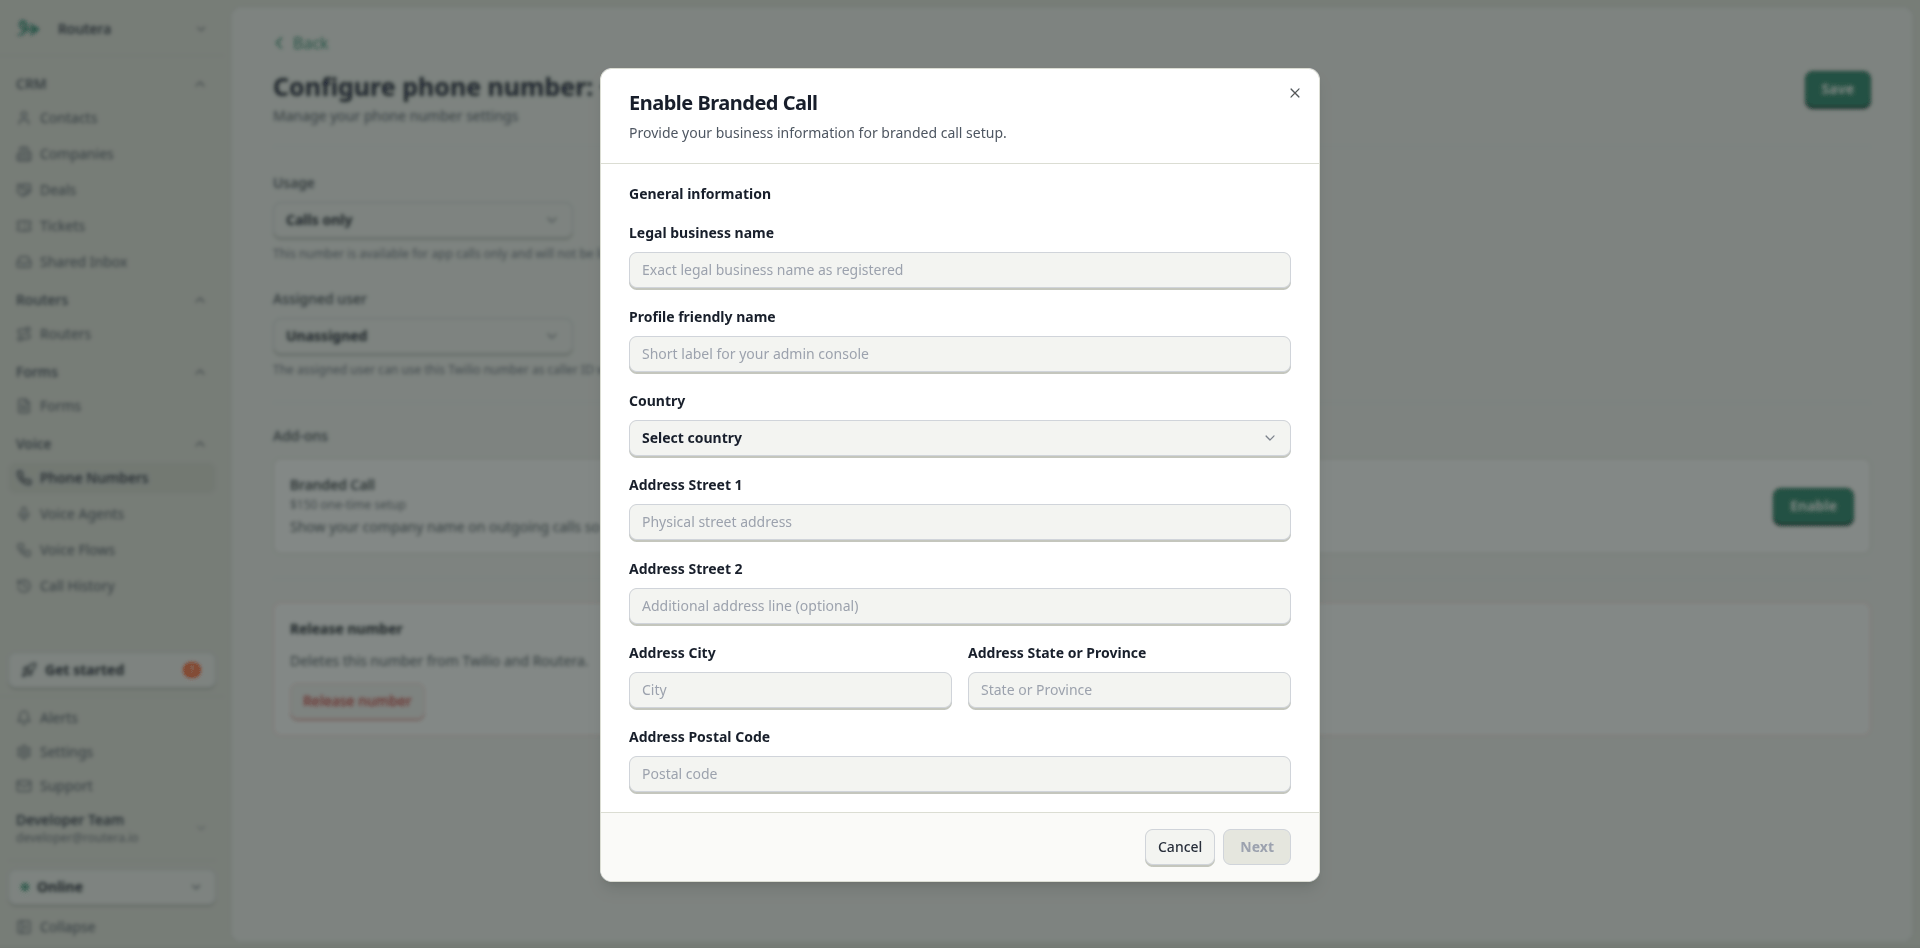
Branded Call requires billing on file (Stripe customer on the workspace). Use exact legal business details that match your registration documents. After submission, the form is read-only via View while the profile is processed.
Test your setup
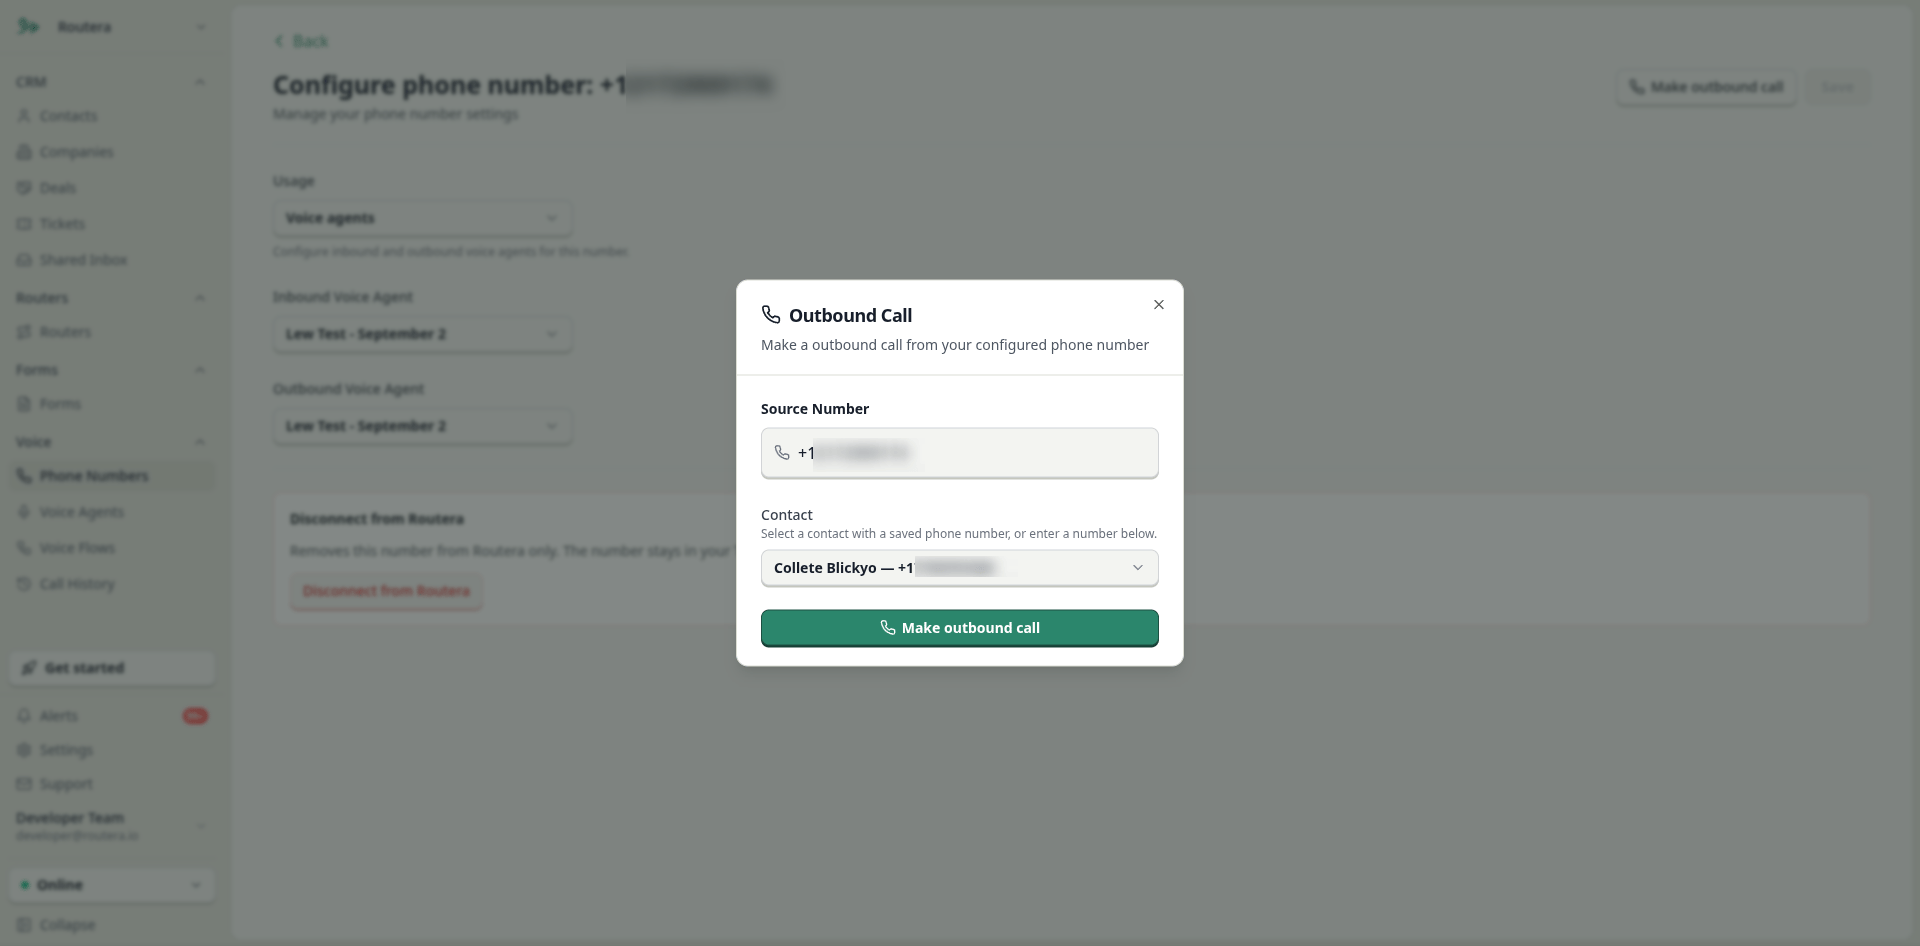
Inbound — Call the phone number from another line. The selected inbound voice agent should answer. Outbound — On the configuration page, click Make outbound call, enter or select a destination number (or pick a contact with a phone on file), and place a test call. The outbound voice agent runs the conversation.