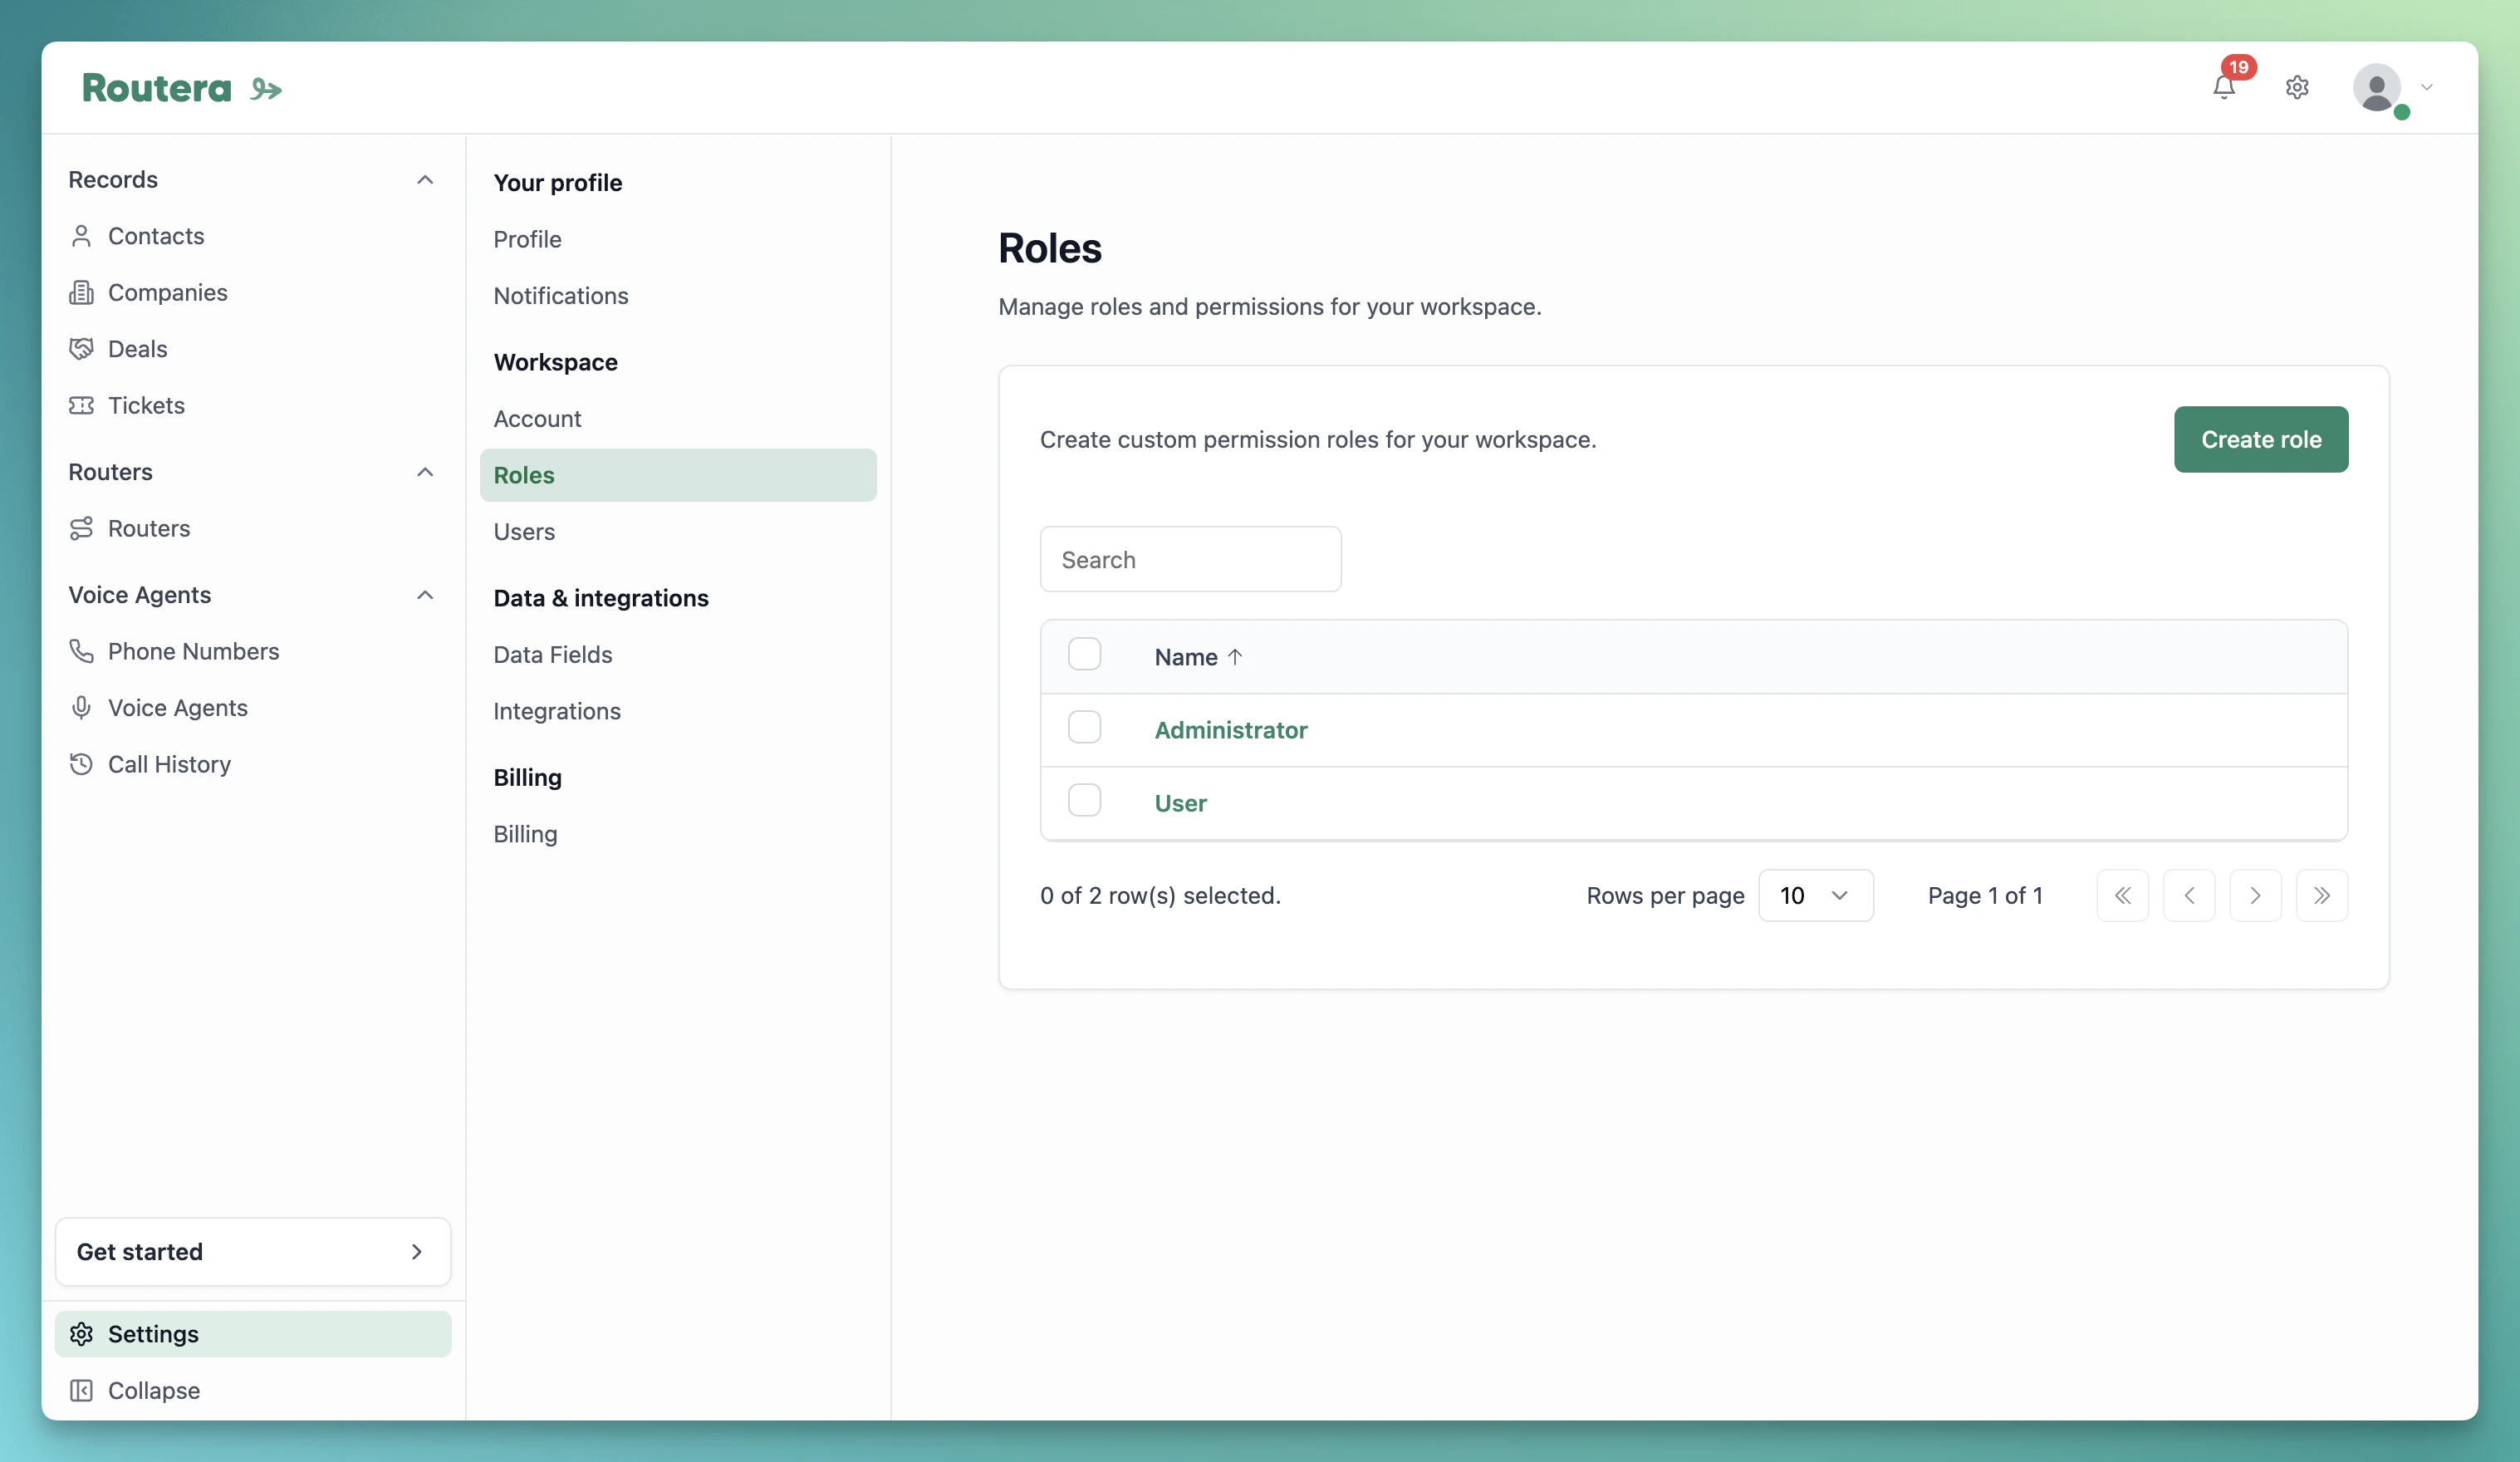
There are two types of default roles in Routera:
  • Administrators: Administrators have full access to your Records, Routers, and Settings in your Routera account.
  • Members: Members can only change their profile, which allows them to modify their own working hours, out-of-office dates, and calendars. They do not have access to other settings in your account or to your routers or records.
Default roles can’t be modified or deleted.
You can also create custom roles to give specific users more granular access. If you’re an Administrator, follow these steps to create one: Open your account Settings , then click on the Roles tab, and then on Create Role. This will open a new screen with the following options:
  • The Records tab, which controls access to the Records section.
  • The Router tab, which controls access to your routers.
  • The Settings tab, which controls access to each section of your account settings.
On each tab, you’ll find a table of permissions that consists of:
  • Read: The user can view or access the item.
  • Create: The user can create the item.
  • Edit: The user can modify the item.
  • Delete: The user can delete the item (when applicable).
The following is an example of what you’ll see on the Settings tab. Notice that each element corresponds to a tab in your settings section (except Teams, which is within the Users tab): Clean Shot2025 08 15at17 27 51@2x Pn Clean Shot2025 08 15at17 33 28@2x Pn Adjust the permissions in these columns as needed. When you’re finished, click Save to save your changes. To apply your new role to a user:
  • Click on Settings , then the Users tab.
  • Select the user you want to apply the role to, and then click Edit.
  • Select the role you just created from the dropdown, then click Save.
Clean Shot2025 08 15at17 42 55@2x Pn
You have successfully created a new role and applied it to a user.